

How to update your website content in Umbraco
Posted by Natalie Mayes some time ago
If you’ve never used Umbraco before (or even if you have), updating your website content can feel a bit daunting at first. Don’t worry - once you know where things are, it’s really straightforward.
Here's a simple step by step guide to help you feel confident.
1. Log in to Umbraco
-
Open your web browser.
-
Go to your Umbraco login page (usually something like
www.yourwebsite.com/umbraco). -
Enter your username and password and hit Login
If you forget your password - it happens to all of us! - there’s a "forgot password" link on the page too.

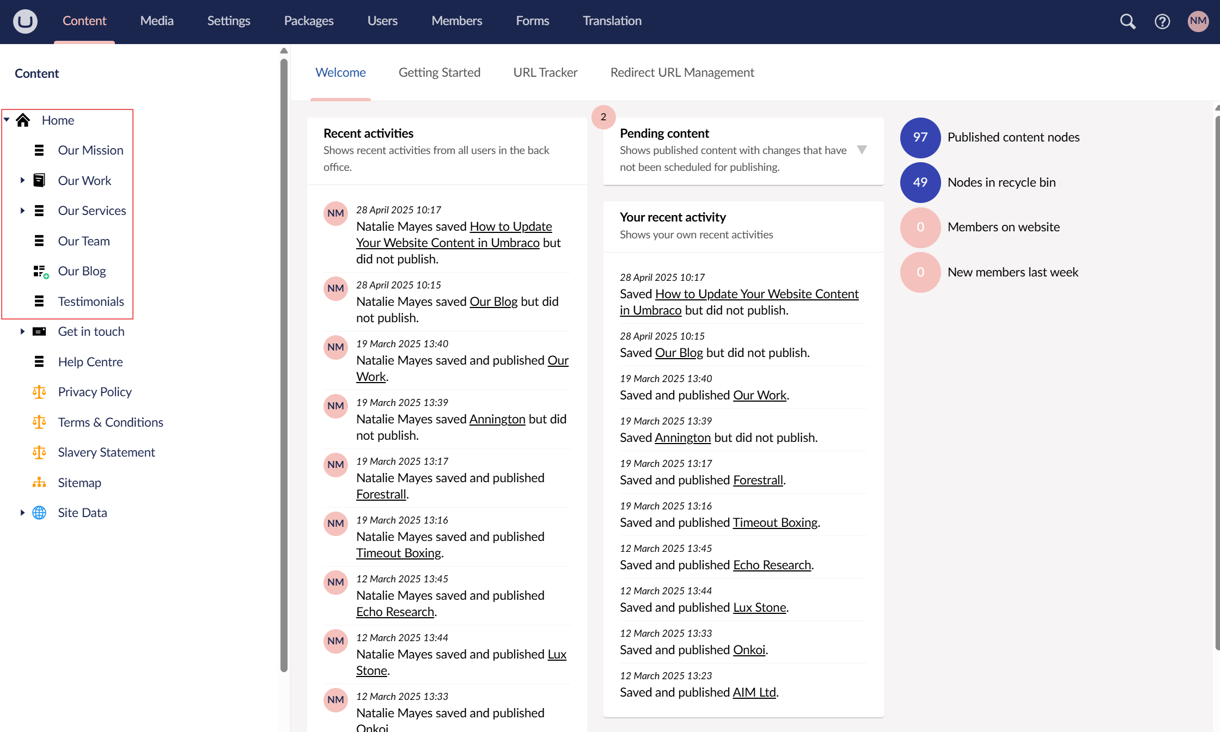
2. Find the page you want to update
-
On the left, you'll see a section called Content.
-
Click on it - this is where all your website pages live.
-
Use the little arrows to expand folders and find the page you want to edit.
Tip: Pages are often arranged just like your website’s menu, so it’s quite easy to find your way around.
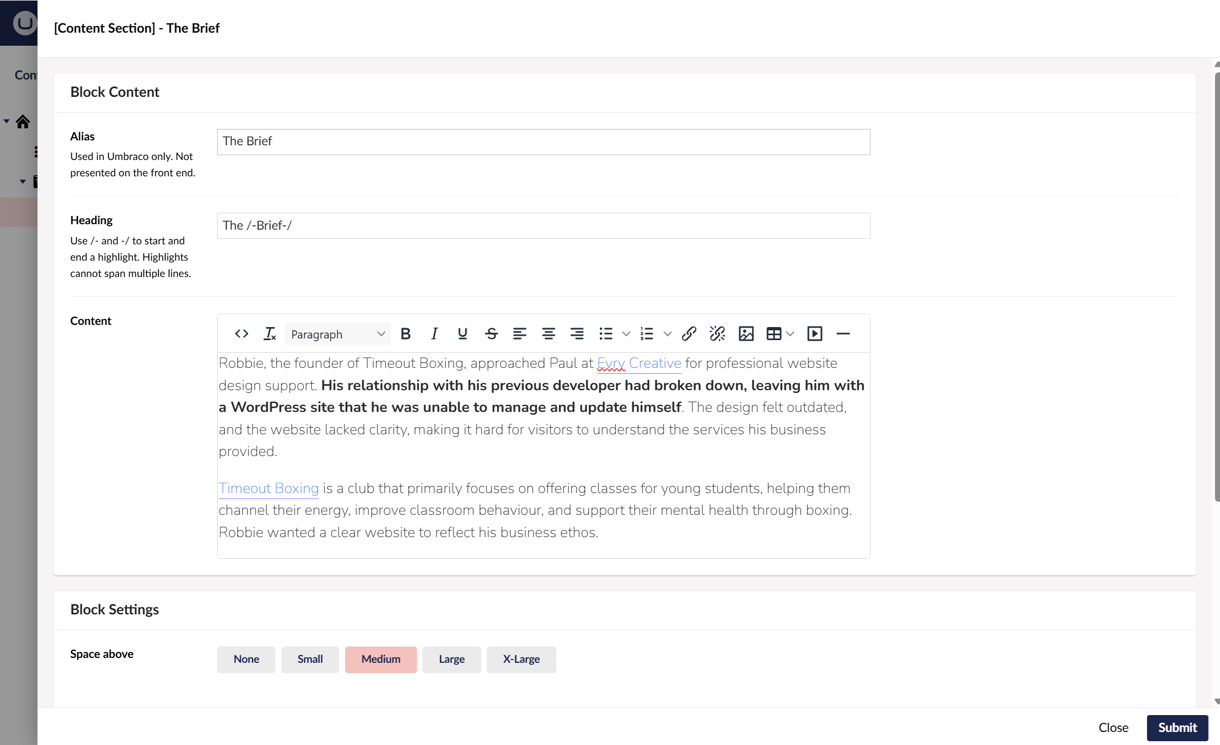
3. Make your edits
-
Click the page you want to change.
-
In the middle of the screen, you’ll see different fields like:
-
Page Title (the name in menus)
-
Content Section (the big chunk of text)
- Image Section (the pictures to go with your text)
-
- Click on the content you want to update, which will bring up the content editor.
- Make your changes.
- Click Submit.
Editing text is really simple - just click inside the box and type, like you would in Word or Google Docs.
You can also use the toolbar above to:
-
Bold text
-
Create bullet points
-
Add links
Top tip: If you're pasting text in from somewhere else, use "Paste as plain text" to avoid weird formatting surprises.
4. Save and publish
-
When you're happy with your changes, go to the bottom right corner and click:
-
Save if you want to save without showing it live yet.
-
Save and publish if you’re ready for everyone to see it!
-
✅ Remember: If you only hit "Save," the public won't see your updates until you "Publish."
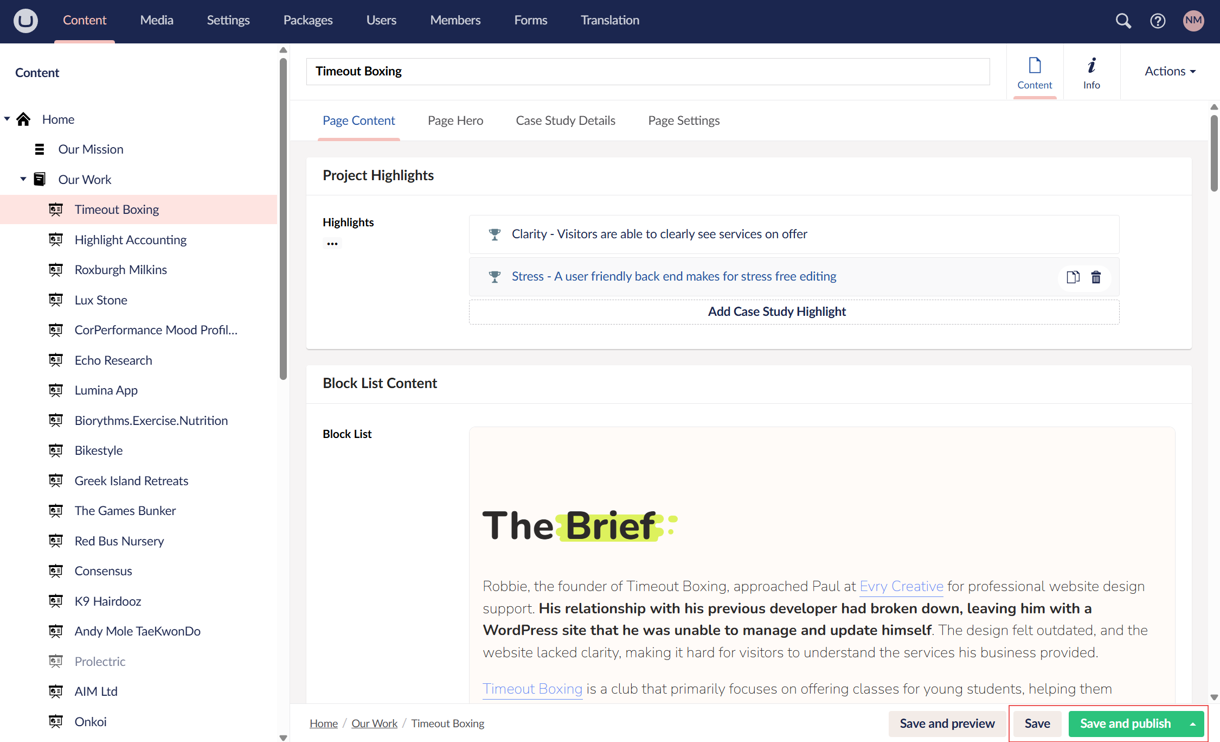
5. Preview first (if you want)
If you’d like to double check how your page looks before going live:
-
Click the Save and preview button down the bottom.
It’s a nice safety check, especially if you’re making bigger changes.
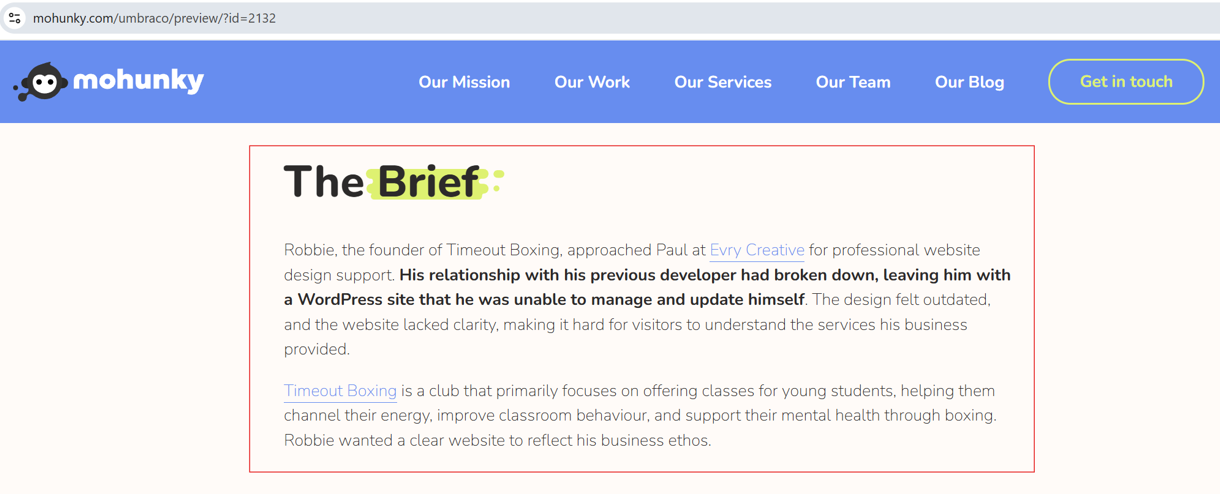
Here are the changes we just made displayed in the preview version... (A bit like a dummy version of the live website)
6. Adding images
-
Scroll down to where you want the image to be.
-
Hover your mouse to get the (+) button to bring up your content options.
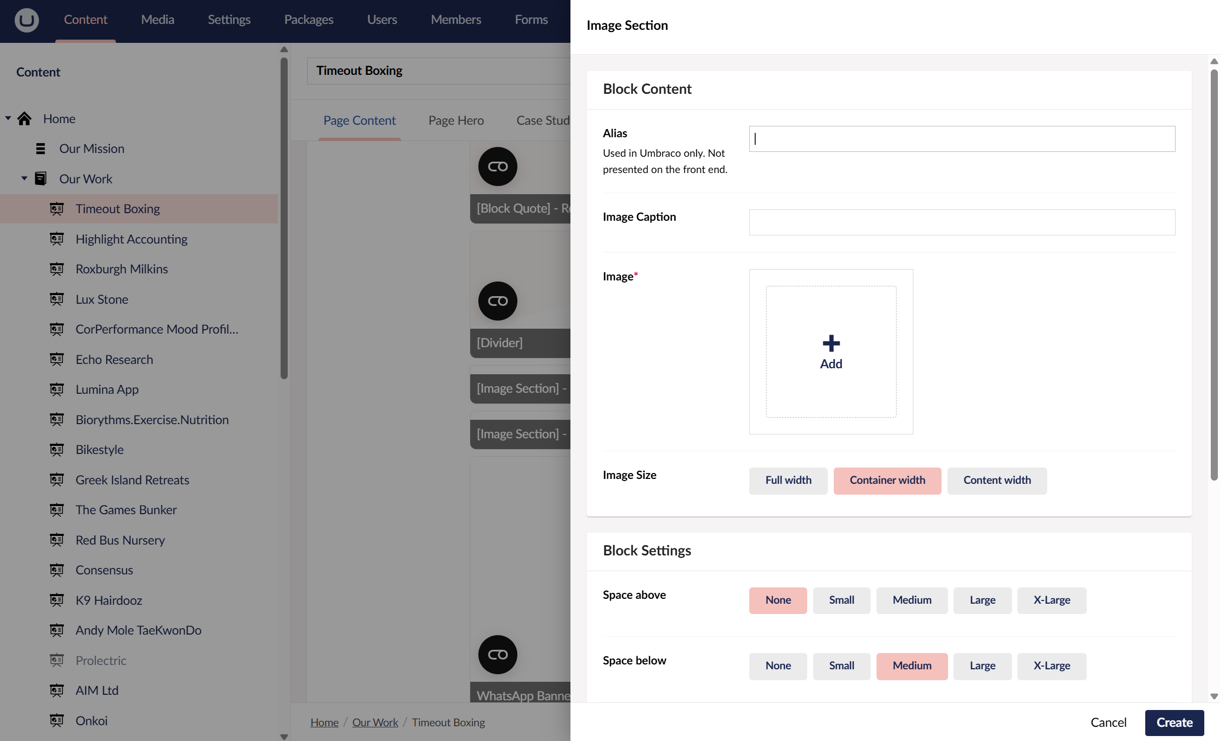
- Select Image Section to open up the image editor.
- Add the Alias (title), Image Caption (if required) and the Image.
- You can either pick an existing image from the Media Library or upload a new one from your computer.
- Here you can also play with image size, adjusting it to Full width, Container width or Content width. Plus you can adjust the spacing above and below the image. (Have a play!)
-
Click Create
- Next Save and preview, to see your changes.
- Once you are happy - Save, or Save and publish!
Quick note: Try to upload images that aren’t massive (around 1500–2000px wide is usually perfect) - it keeps the site speedy.
Handy extra tips
-
Unpublishing a page:
Click the small arrow on the green Save and publish button down the bottom and choose Unpublish if you want to temporarily hide it without deleting it. You can also schedule a time to publish the page here too which is handy! -
Creating a new page:
Right click a folder on the left hand side (like "Our Work" or "Our blog") and choose Create. Follow the prompts to set up your new page. -
SEO settings:
Sometimes you’ll see an "SEO" tab, normally under page settings - that's where you can edit how your page shows up on Google (page titles, descriptions, keywords) by adding Meta Data and Meta Descriptions.
For more info, or in depth help, check out Umbracos editor manual. You'll find tonnes of helpful stuff!
Read more posts...
Rethinking Web Complexity with Server-Rendered HTML
Posted by Rob Mayes this week
How much does a website cost in the UK?
Posted by Natalie Mayes last month
Chat to us on WhatsApp
Scan, click or tap the QR code to start a WhatsApp chat.

Let's chat
If you have a specific project in mind, or you’re not sure what you need, please get in touch - we’d be happy to chat, even if it’s just for friendly advice!